
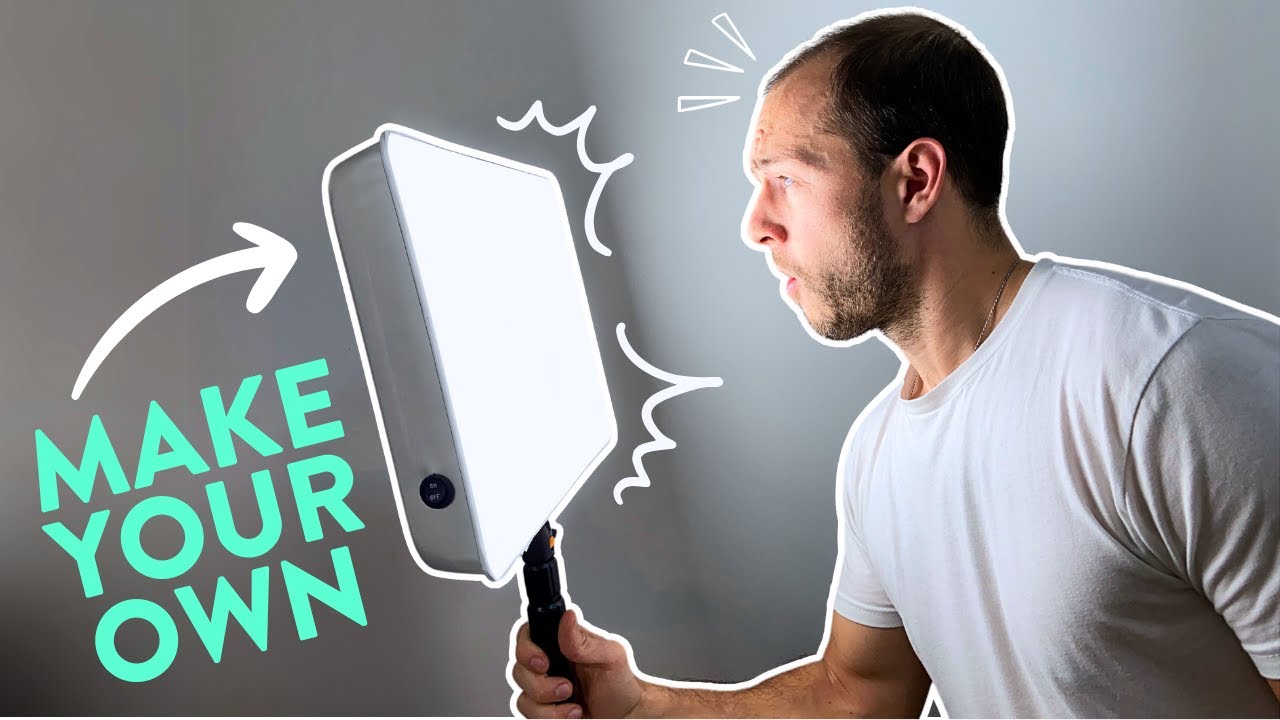
In this guide, I’ll walk you through how to build a truly full-spectrum light therapy lamp!
So if you like light and a good DIY project, read on!
Why Make Your Own Light Therapy Lamp?
Me and the Sun are like this (picture me and the Sun hugging like bros)
But when I can’t get bright sunlight in my eyes, I like to turn to a high-quality artificial light source, usually a SAD lamp, or bright light therapy lamp.
Free · 95 pages
You’re reading about one piece of this. The book is the whole day.
The Circadian Blueprint covers setting your body clock with light — the timing, the doses, and which products actually deliver them. Every number came off my own spectrometer.
Check your inbox to confirm. Plus a short note each month on what I’ve tested — unsubscribe anytime.
Unfortunately, the SAD lamps currently on the market lack in one department or another. They either flicker quite a bit, don’t use the latest full-spectrum diodes, cost too much for their output, can’t be mounted optimally, etc.
So I decided to try my hand at making a truly flicker-free full-spectrum light therapy lamp!
I tried to make this as simple as possible, but unfortunately, it does require soldering (which is much easier than you might imagine if you’ve never done it).
Lamp Overview
Before I show you how to build your own, let’s go over what the final product can look like!
I made a couple of lamps using a cheap AliExpress LED strip as well as a higher-quality strip from Yuji, although there are others we’ll go over.

They feel fantastic and have a great light output for the size, which makes them comfortable, but bright.
The Build
Feel free to think of this guide as a framework. You can make your lamp however you want.
The lamp I built is as simple as I could conceivably make it.
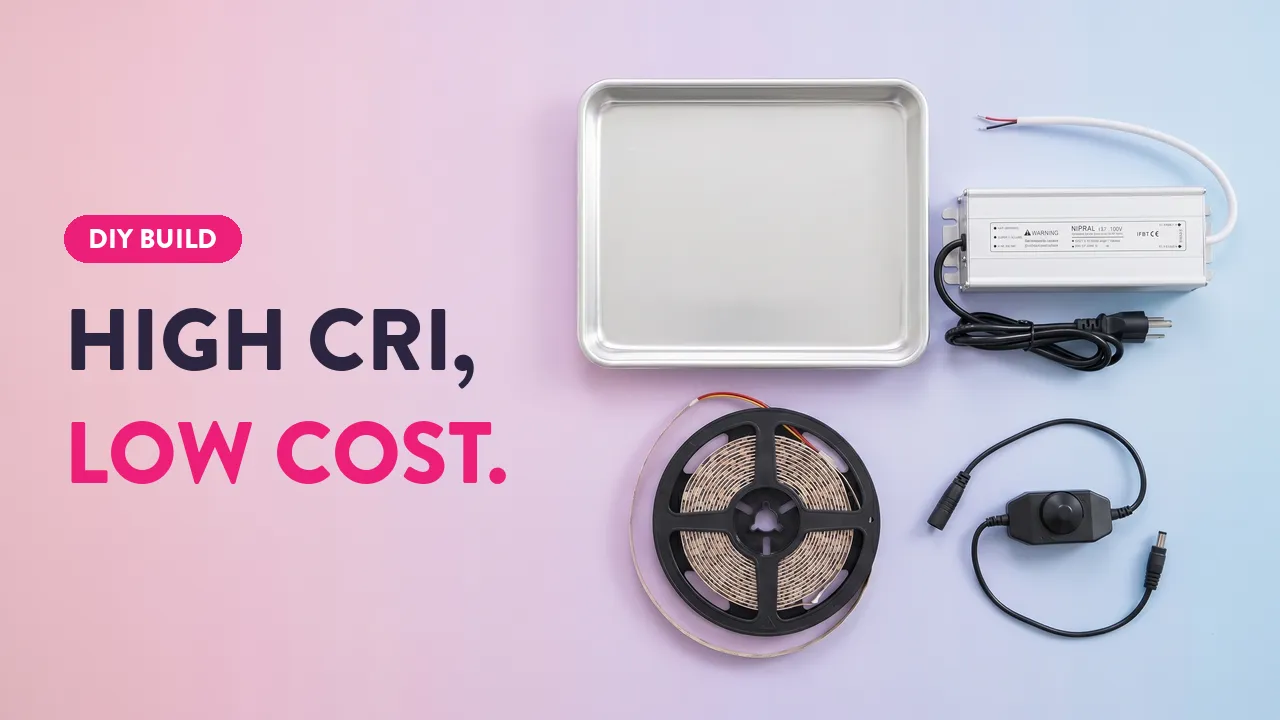
It’s just a single 5m LED strip wired up inside of a large aluminum cake pan. The aluminum pan acts as a wonderful housing and heatsink!

Here it is with the diffuser glued on!

You can also add things like a power switch and/or a physical or wireless dimmer to improve the usability. I’ve simply gone with a physical switch for mine.


This is all powered by a single LED power supply that can be mounted under your desk if you wish.

Attached to the bottom of the pan is a 1/4 inch male-to-female adapter, so that these can be mounted to any standard camera gear.


For example, I have one lamp clamped to my monitor arm, and one mounted upon a desk mount. The possibilities are endless.

But this is great because bright light coming from above is not only more effective but more visually comfortable than below eye level as you typically get from SAD lamps.
Plus it saves you space.
Testing the Spectrums
Of course, I recorded all kinds of data on these lamps, so let’s go over that before I tell you how to make your own.
As usual, testing was done at a distance of 1 foot where readings were taken and averaged out over 1 hour.
I used two different strips for this project. The 5700K Yuji SunWave strips, as well as a generic 5000K strip from AliExpress.
Aluminum pans are fairly matte, so I also experimented with lining the pans with aluminum foil tape to see if increasing the reflectivity of the surface had a noticeable impact on the light output.
It does! Lining the inside of the pan with foil tape increases light output by almost 10% in these experiments, so if you have some I’d recommend adding it!
I was a bit surprised to find that the AliExpress strip I bought for around $25 outperformed the Yuji SunWave strip in terms of raw light output, however, the Yuji puts out higher-quality light, which I’ll go over.
Here are the emission stats from the lamps at a distance of 1 foot:
Yuji SunWave
- Lux: 10,000
- Circadian Light: 17,600
- M-EDI: 9,300
- CCT: 5800K
- CRI: 95.9
- TM-30 Rf: 97
- TM-30 Rg: 101
AliExpress
- Lux: 14,150
- Circadian Light: 24,800
- M-EDI: 12,900
- CCT: 5400K
- CRI: 95.7
- TM-30 Rf: 94
- TM-30 Rg: 99
Here are the spectral power distribution graphs of these two strips compared side by side:

While it’s certainly less bright than the AliExpress strip, the Yuji SunWave strip is unique in that it has some Near-UVA or deep-violet light. This light has been shown in some studies to activate opsins in the eye (OPN3, OPN4, and OPN5) that regulate mood and circadian regulation, and the Sun does contain tons of this kind of light.
Here’s what these LED strips look like in color:


The Yuji SunWave strip has much better color rendering which we can see when we compare the TM-30 data. Think of TM-30 as a better CRI score. The TM-30 standard uses 99 color samples versus the 15 from CRI.


As you can see the Yuji strip fills out the color fidelity range much better. So if you’re more concerned with mimicking the color and feeling of Sunlight, I’d go with the Yuji strip!
Don’t get me wrong, the AliExpress LEDs are not bad, the Yuji SunWave LEDs are just better.
Testing the Flicker
I checked flicker on these builds, and there’s absolutely none:
All LED power supplies convert to DC pretty well and so should be flicker-free, however I cannot guarantee your power supply will function like mine.
How Do They Compare?
Since I’ve tested so many of the other best SAD lamps, I figured I’d plot these on a graph with those!
Let’s look at lux output first, keep in mind I’ve left out the Aurora LightPad Max and Mini because they’re so powerful they throw off my bar graphs!
But as you can see in terms of brightness these do perform in the top 10, not bad!
If we look at circadian light output, the kind of light we want in the morning, we see something else.
The Ali jumps way to the top! And the Yuji moves up a few spots as well. That’s thanks to their cooler full-spectrum light spectrums.
One of the real reasons I’ve grown to like these lamps however is simply because they feel good. And this is due to their relatively low lux per square inch or Glare as I call it.
If we plot that same circadian light graph but with Glare values, we’ll see that Ali and Yuji perform near the bottom, meaning they’re extremely comfortable relative to their effectiveness.
Similar in fact to the Alaska Northern Light Northstar or Carex Classic, which are two of my favorites due to their visual comfort.
So that’s about it, let’s get into the actual build!
Part 1: Selecting Your Parts
The first thing we need to go over is the main parts you’ll need for this lamp.
1. Selecting a Pan
I settled on aluminum cake pans for the housing. This gives decent reflectivity, looks pretty minimal, and acts as an excellent heatsink for the LED strips.
I found that an 11×15-inch pan provides just enough room for a 5m strip inside. This is the one I went with, however, you can always buy a larger pan and fill it with more strips, or spread out the strips more for a more relaxed glow.
Pan Options (11×15):
- Wilton Performance
- Fat Daddio’s – Alternative
Pan Options (13×18):
- Nordic Ware
- Nordic Ware – Alternative
2. Selecting an LED Strip
Obviously, the next thing you’ll need is a nice full-spectrum LED strip!
I went with 5m lengths for my lights as this fits perfectly in an 11×15 pan, however, feel free to buy as much as you want for your project!
I’ve found three options for this, but have only tried two thus far.
Option 1: AliExpress
This is the only budget-friendly fulls spectrum LED strip currently commercially available that I know of.
It comes in 3000K, 4000K, and 5000K options. If you’re looking for a morning light kind of feeling, go with the 3000K, but if you want the most effective one, go for the 5000K option.
AliExpress Sunlike

- Price: $
- CCT: 3000K, 4000K, 5000K
- Luminous Flux: 1135lm/M
- Voltage: 24V
- Wattage: 12W/M
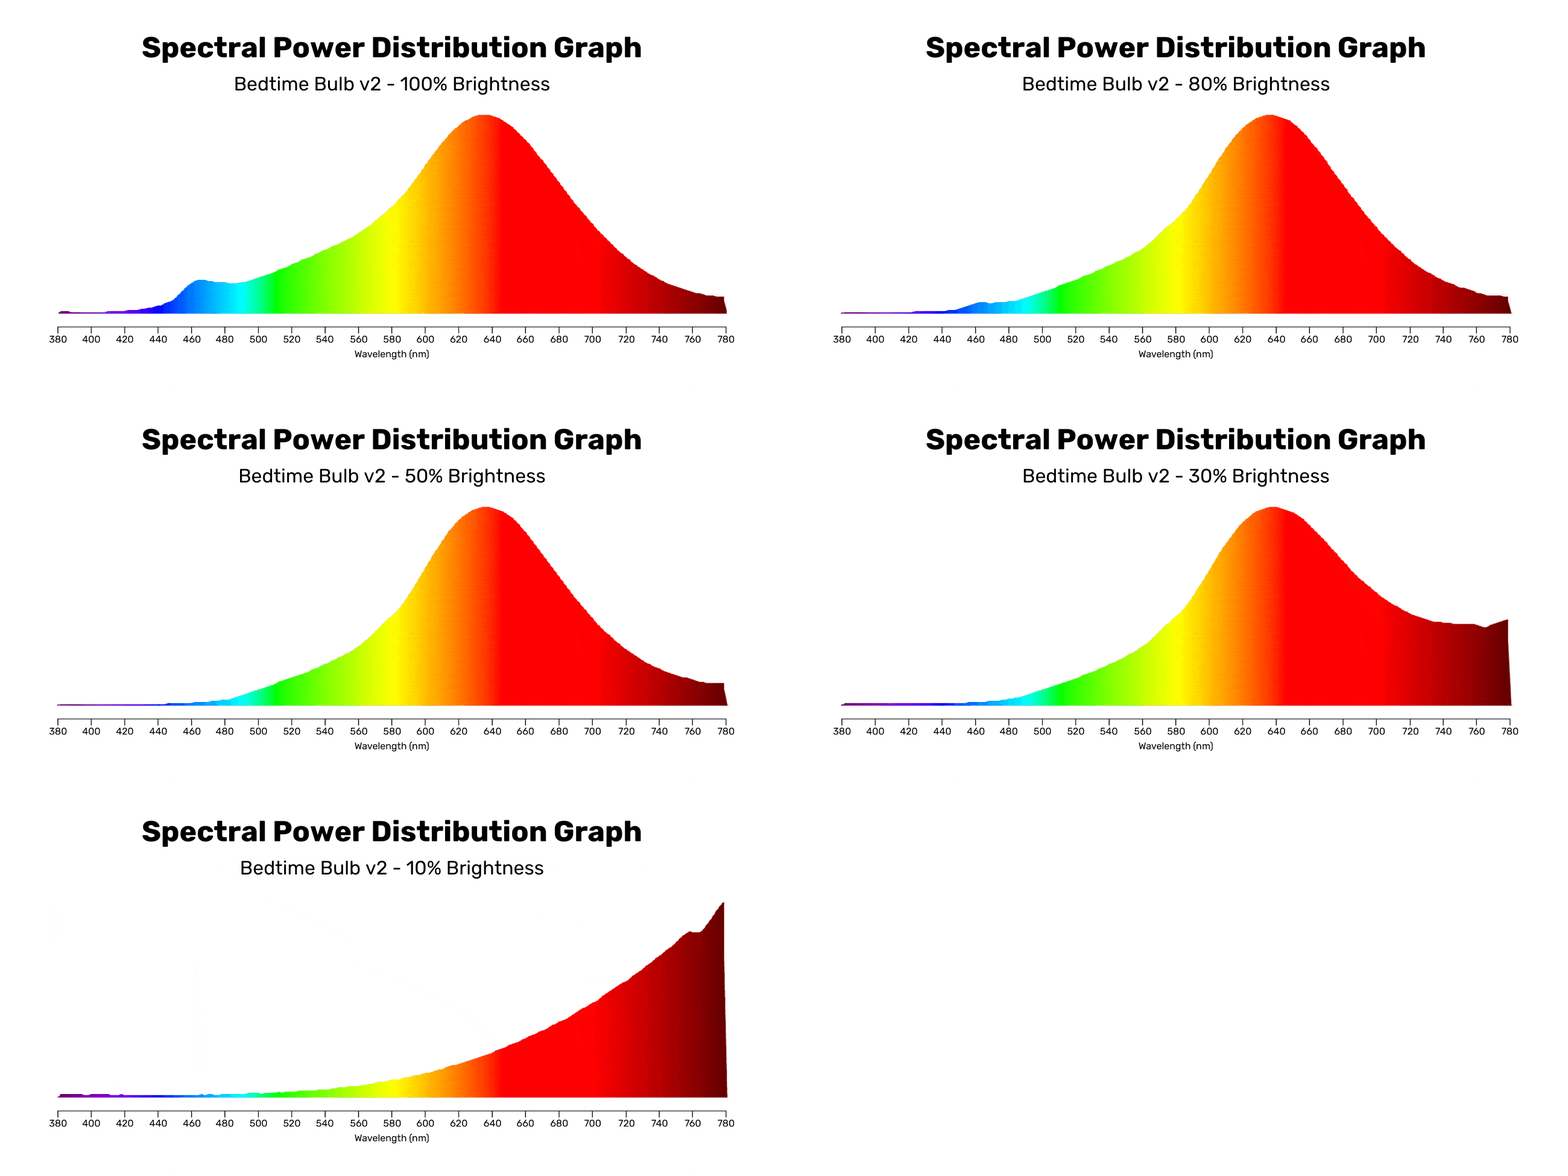
Option 2: Yuji SunWave
Yuji’s SunWave strips will run you exponentially more than the current budget AlkiExpress offering. However if you can afford it and are looking for a nicer light source, the SunWave diodes are better from a color rendering standpoint.
Yuji also offers a 2700K-6500K tunable SunWave strip, which is currently the only full-spectrum tunable LED strip that I’m aware of. So if you’re thinking you’d love to be able to change the color temp of your DIY SAD lamp throughout the day, this is the easiest way to achieve that!
Yuji also sells premade panels that can make this whole process a lot easier!
Yuji SunWave

- Price: $$$
- CCT: 2700-6500K
- Luminous Flux: 1100lm/M
- Voltage: 12/24V
- Wattage: 18W/M
Option 3: LumiTronix SunLike
A third option and usually the most expensive is the LumiTronix LED strips. These look great! I just haven’t used one myself yet.
They utilize Seoul Semiconductors new TRI-R SunLike LEDs found in the Norb and GE light bulbs.
They offer single-color strips anywhere from 3000K to 6500K and claim 1700lm/M for the 5700K so this just might be the best option from a circadian effectiveness standpoint.
LumiTronix SunLike

- Price: $$$
- CCT: 3000-6500K
- Luminous Flux: 1700lm/M
- Voltage: 24V
- Wattage: 19W/M
Sorry, I haven’t tested these yet!
Option 4: Waveform Lighting Absolute Series
Another excellent-looking LED strip comes from Waveform Lighting in the form of their new Absolute Series.
I haven’t personally tested these but the photometric reports and TM30 data provided by Waveform show that they produce a very lovely color!
You will pay for these bad boys though, to the tune of $350 per 5M strip! Yikes.
Waveform Lighting Absolute Series

- Price: $$$$$
- CCT: 5000 & 6500K
- Luminous Flux: 1250lm/M
- Voltage: 12/24V
- Wattage: 17W/M
3. Selecting a Power Supply
To power your LED strips you’ll need an LED power supply. Choosing one is simple.
First, you’ll need to match your strip’s voltage, which will be either 12 or 24V depending on the one you go with.
Next, you’ll need to take the wattage per meter measurement for your strip, so let’s say 18W/M for the Yuji SunWave, and find out the total for your length. So for a 5M length of SunWave we’ll have a total of 90w.
As a general rule, it’s recommended to exceed your required wattage by at least 20%, so our requirement in this case would be 108 watts.
So for this LED strip, we’ll probably be going with a 120w power supply!
Power Supply Suggestions
If you’re going with the 5m AliExpress strip, grab a 24V 100W PSU.
If you’re going with either the Yuji or Lumitronix strips, you’ll want to bump that up to either a 12V 120W PSU or a 24V 150W PSU as two examples. It all depends on what you can find.
Part 2: Supplies You Might Need
So in order to complete this build you might need a few things you don’t already have, if you’re the DIY type, you may of course already have some of this.
1. Soldering Iron & Solder
This item and its use will be the biggest turn-off for most of you, but let me say that it’s not that bad.
Soldering is incredibly simple, and anyone can do it successfully minutes after receiving their tools.
As for which soldering Iron you should buy?
You can purchase a cheap all-in-one setup like this and get right into it. This kit comes with lead-free solder, which can be a bit harder to work with than leaded solder, just make sure to vent your work area outside regardless of your solder choice.
2. Wire
If you don’t have any, you’ll need some wire!
I used silicone wire for all the internal wiring as it’s very easy to work with and manipulate the way I want.
You may also want some extra power wire to run from the power supply up to your lamp if you don’t already have some.
3. Reflective Tape
It’s an optional step, but adding foil tape to the interior of the pan does improve its light output.
An even better option would be to use vinyl mirror film.
4. On-Off Buttons
Since the power supplies don’t have on-off switches, and they wouldn’t be all that convenient even if they did, we have to buy our own.
You can get a simple on-off button like I did for my lamps, you’ll just need to drill a hole for it and solder it into your circuit.
You can also just go with a simple plug-in switch as well.
5. Dimmers
If you’d like to be able to dim your lamp you’ll want to buy a compatible dimmer. I bought and tested several kinds for this project to find the best ones.

Here are my favorites out of the ones I tested:
Yuji Dimmer

Dimming Frequency: 3000Hz
This dimmer from Yuji had the highest frequency flicker of all the dimmers I tested. It being direct wire also makes installation a little more straightforward as well.
HitLights RF Dimmer

Dimming Frequency: 1000Hz
This was the best Amazon dimmer I tested, at 1000Hz. You can connect this with DC power jacks or wire it in directly.
TronicsPros Rotary Dimmer

Dimming Frequency: 650Hz
Here’s a simple manual dimmer. You can connect this with DC power jacks or wire it in directly.
Waveform FilmGrade™ Flicker-Free Dimmer

Dimming Frequency: Unknown
One final option is Waveform FilmGrade “flicker-free” dimmer. I haven’t tested this myself and there are no stats on its actual dimming frequency, but it’s probably pretty good!
6. Mounting Hardware
You’ll want to mount your light of course! For this, there are a few options you can consider:
Articulating Clamp Mount

This is my preferred mounting method!
This mount comes in 7, 9, and 11-inch versions and is great for attaching your light to various things like a monitor arm, shelf, or pole.
Desk Mount Stand

This is great for a simple straightforward desk mount. Either behind your monitor or off to the side, it can be angled downwards at the perfect angle too.
Monitor Mount

Here’s one more interesting mounting option! If this fits your monitor, it’s a nice clean way of mounting your light right where it’s needed.
Finally, of course, to attach your light to any of this stuff you’ll need the equipment to create the mounting joint I displayed above.
For that, you’ll need a 1/4 male to 1/4 female thread adapter and some 1/4-inch lock nuts.

7. Diffusion Material
You’ll want to put some kind of diffuser over the front of your light as the individual LEDs are a bit too harsh to leave undiffused.
You can use just about anything you want here, a cheap frosted shower curtain from a dollar store works great!
You can also go with these nice photography diffusion filters.
Part 3: Building the Lamp
If you’ve got all your stuff, here’s how to put together your lamp!
Step 0.5: Foil Your Pan
You don’t have to, but I would cover your pan in foil. Use a credit card to flatten it out and get out any air bubbles.

It makes a difference!

Step 1: Cut LED Strip to Size
The first real step is to cut your LED strip to size. This is honestly the hardest part.
You’ll be cutting along the copper connection points, so you’ll have to make sure each section you cut fits inside the pan properly before committing to the cut.
What makes this difficult is that each LED strip is made up of multiple strips that have been pre-soldered together, so to avoid unnecessary unsoldering and cutting, I try to skip over these spots.
You’ll also have to make sure each cut is long or short enough so that your last piece isn’t absurdly small.

Just measure out the spots you’ll cut 3 or 4 times before you commit to cutting and you’ll be fine!
Step 2: Attach LED Strip
Once you’ve laid out your LED strips nicely and evenly, we can attach them!
Getting your strips relatively flat before sticking them down will help to prevent them from wanting to peel back up later.
Once they’re down, we’ll want to take one more step to ensure their firmly attached to our pan!
Find something blunt and somewhat pointed, like the bottom of a toothbrush or butter knife, and firmly run it along each side of your LED strip, this will ensure that the adhesive is firmly stuck and will help with heat dissipation. It will also ensure that the strips won’t peel back off later on.
Step 3: Pre-Solder the Strip Pads
It goes without saying if you’ve soldered before, but for the noobies out there, you’ll want to put some solder on each of the copper pads you’ll be soldering to.
So do this first, it makes attaching our wires much easier.
Step 4: Solder the Strips Together
Now we need to get our wires ready and solder all of our light strips together.
I used a jaw wire stripper to create a single piece for soldering, it makes this part a breeze, but any wire stripper should work, hell even a pair of scissors can get the job done!

It isn’t necessary, but you can pre-solder each wire joint before joining them to the pads, it does make things easier again. Once these are soldered in place we can move on!

Once you’ve got both wires attached we can install our power switch or dimmer!
Step 5: Attach the Power!
Of course, you need a way to easily turn your light on and off!
I went with a little switch which I soldered the power wire to. When the switch is pushed, it lets power through or cuts it off. Simple!

Alternatively, you could solder both the black and red wires right to your first strip and attach the other end to a plug-in switch like this.
Once you’ve wired in your switch, just wire the other end into your power supply! You can either solder them together, use wire nuts, or utilize some DC power jacks again.
Step 6: Glue on the Diffuser
Now that the interior is all done we can wrap it up with our diffuser of choice.
I added a bead of glue around my lamp, set it face down on the diffuser, and left it in a ventilated room to cure.
Step 7: Mount That Bad Boy!
The last step is to mount that sucker on your desk!

Well. That’s it, folks! Good luck making your badass light therapy lamp!